VTP Software Tutorials
Tutorial 1: Convert and Display Simple Elevation Data
This tutorial will walk you through one of the simplest operations you can
do with the VTP software: to import elevation data, prepare it for visualization,
then walk/fly over the resulting terrain.
Step 1: Locate your Data
Let's suppose you're starting with a USGS DEM file. For this tutorial,
you can download kilauea_30m.dem.zip (330k).
Step 2: Import
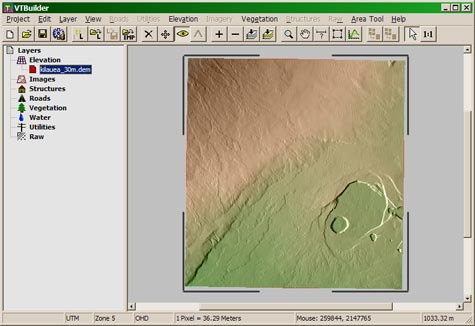
Launch VTBuilder:

You can import the DEM several ways. You could use the menu command
Layer: Import Data and specify type Elevation, then browse to
your DEM file. Or, you can simply drag-and-drop the file into the VTBuilder
window. Either way, it should be displayed:
Note that VTBuilder doesn't mind if the file is inside a Zip archive,
so you don't have to unzip it.
Step 3: Resample and Export
Use the menu command Area Tool: Set to Full Extents. This tells
VTBuilder that we are interested in the area of the entire DEM.
Note that a dashed-line box appears around your data.
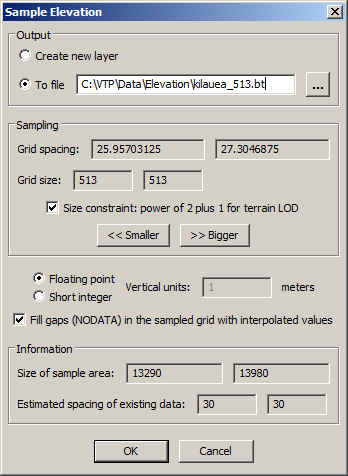
Use the menu command Area Tool: Sample Elevation.
We are going to send the output to a BT file, so select Output: To file,
then browse to the Elevation folder on your Data path. If you are on Windows
and installed the VTP software with default locations, then this will be in
C:/Program Files/VTP/Data/Elevation Give your output
file the name kilauea_513.bt
Because we will be using Terrain LOD, click the box for Sampling: Size
constraint.
Your dialog should look something like this:
Press OK. VTBuilder will do a series of rapid operations
then tell you the file was successfully written. You can now close
VTBuilder.
Step 4: Describe your Terrain
Launch Enviro. When you see the startup dialog, press Terrain
Manager:
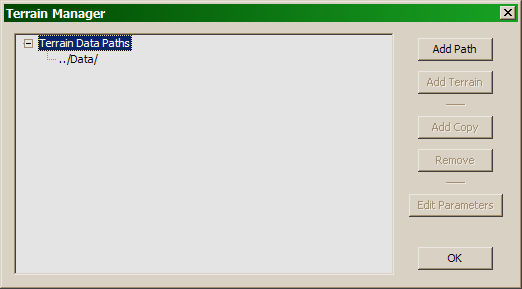
Note that you have only one data path, which is ../Data
Select this path, and press Add Terrain. Enter the name "Kilauea".
You now have a new terrain definition (stored in Kilauea.xml):
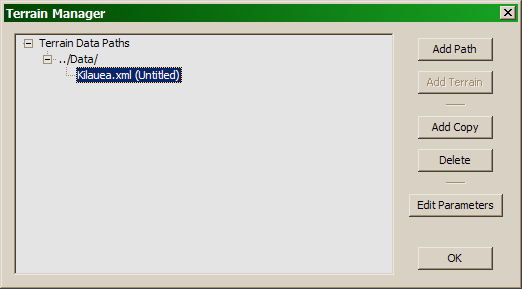
Select it and press Edit Parameters. This will open the Terrain
Creation Parameters dialog, which has a large number of options which you don't
need to worry about. Fill in the following values:
- Name: Kilauea Crater
- Elevation: Grid Filename: use the drop-down to select
kilauea_513.bt
- Elevation: Vertical Exaggeration: 1.4
- Texture: Derive Texture from Elevation, using drop-down
default_relative.cmt
(A nice set of artificial colors.)
- Ephemeris: Initial Time: Set: Hour 7.
(7 AM in the morning, which in this part of the world gives nice dramatic
shading.)
That's it, press OK, then OK again on the Terrain Manager dialog.
Back on the Startup dialog, select Terrain: Kilauea Crater:
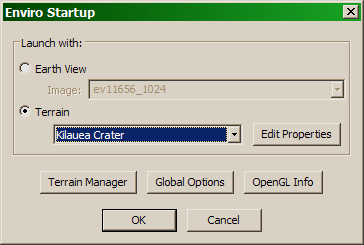
Step 5: Run
Press OK on the Startup dialog. Enviro will open its
main window with a 3D view of your terrain:
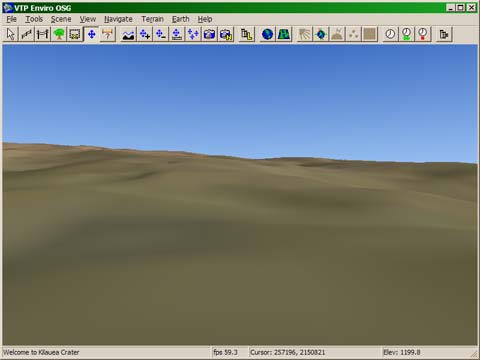
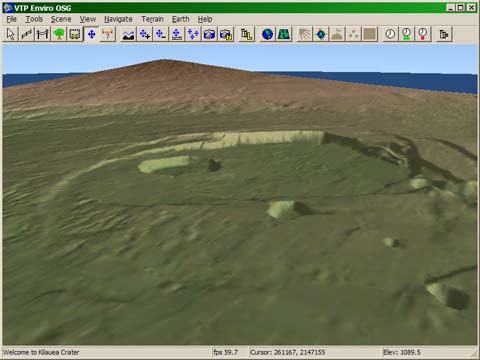
The initial location of your camera is right in the middle of your terrain,
looking north. You can use the Simple Mouse Navigation to fly around and get a larger view:
That's it! Now you can go back and try many other things:
- Try using your own Elevation data.
- Try loading several Elevation files into VTBuilder, which can
merge and resample them into a single output file.
- Explore the many options in the Terrain Creation Parameters dialog.
- Explore the many styles of navigation in Enviro, including the
Locations dialog which can store, recall, save and load points of view and
camera animation paths.
- Explore the data-creation features of Enviro, including planting
trees and importing 3D models.
Remember there is documentation online: